pyShotDetect Wiki
(Auto-)Detect Video Scene Changes, output an edit list
Status: Beta
Brought to you by:
brendanscott
pyShotDetect is a program for automatically detecting shot changes within a digital video (ie: ".dv") file. PyShotDetect writes a metadata file which can be read by the Kino program.
If you have a “.dv” video file comprising a number of different scenes (or, technically, shots) these shots can be automatically detected by pyShotDetect, depending on threshold parameters that are set interactively. Once you are happy with the detection, pyShotDetect will write a metadata file (an old style Kino file) which demarcates each shot. This file can subsequently be edited in Kino (eg to extract each shot).
It is particularly effective on fade to/through black transitions and cuts.
Variety of UI improvements added including:
Added timecoded readout
Proper saving of frame times at hh:mm:ss.mmm in output file (ie new style smil file rather than old style kino frame based file)
Added templating mode
Added manual templating functionality
Added de cross fade functionality
multiple cuts within a certain number of frames of one another are treated as a cross fade. First and last are kept, others are discarded.
First is marked as not exportable
Added additional metrics
Began work on menu bar
Can now set a manual threshhold for fade to black guessing
First make sure you have the dependencies installed:
Python (tested on 2.6 but 2.5, 2.6 or 2.7 and should work. Will not work for Python 3), Tkinter, openCV, matplotlib
get libxine1-codecs if openCV segfaults all the time.
Next:
download the tarball:
and extract it to a directory with tar:
tar xvf pyShotDetect_r3.tar
(update for the relevant revision number)
Then cd into the directory and run the GUI with Python:
cd pyshotdetect-code/
python psdGUI.py
Once a file has been opened, run the mouse over the central plot area. The frame at the current mouse position will be displayed in the preview window. For a larger preview image, undock the preview window (from menu-> view->(un)dock) and resize to suit. Run the mouse over the plot area to refresh the preview.
Zoom level is determined by y coordinate of mouse in the plot.
Plot location can be scrolled at the current zoom level using the mouse scroll wheel.
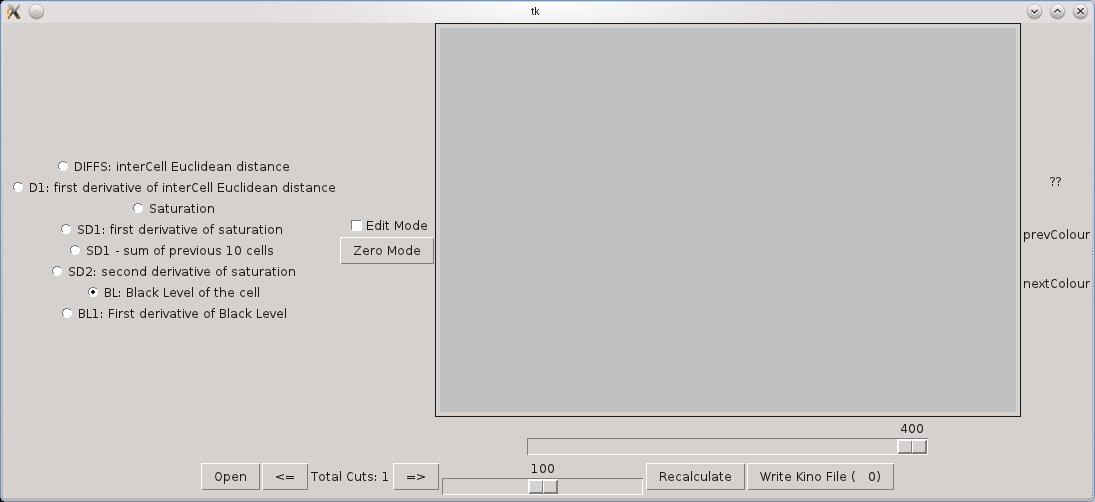
On startup, the screen will be blank:
Click the "open" button to load a video file. Use file->open from the menu to open a file. Also accepts a dv file from the command line:
python psdGui.py \<name of file.dv>
As at JulySeptember 2012, it will only work on .dv files.
Hint: ffmpeg can be used to create dv files:
ffmpeg -i \<inputfilename> -target pal-dv \<outputfilename>
or
ffmpeg -i \<inputfilename> -target ntsc-dv \<outputfilename>
When you click a file to open it, it will take a while to calculate some values it needs for autodetection. The longer the video, the longer the calculations will take. There is no visual feedback. Please be patient. These values are then stored in a file, so this will only happen the first time you open any given file.
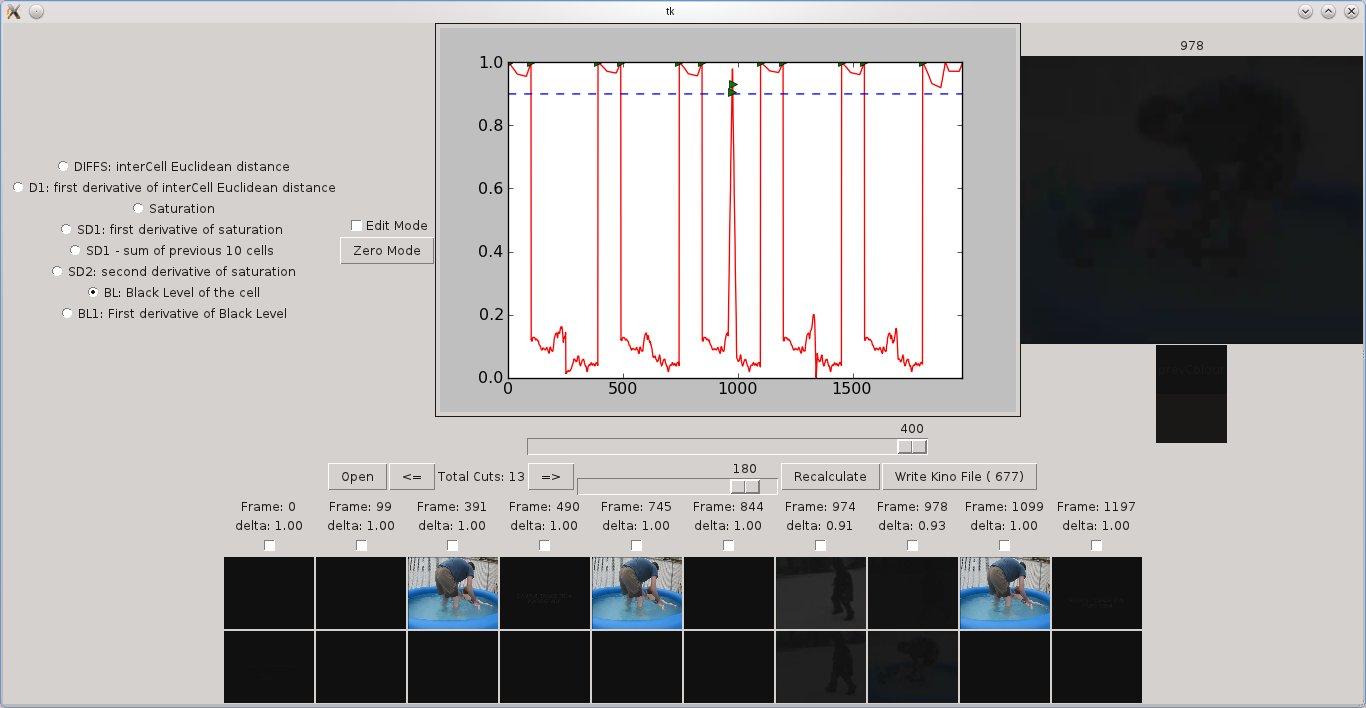
The graph in the middle shows a metric for detecting shots. PyShotDetect uses this metric for its autodetection. Different metrics can be chosen using the radio buttons on the left hand side. In the screen shot above, pyShotDetect has auto detected a number of shots, marking them with green triangles. Moving the mouse cursor over this graph area will show the frame at that location (not visible on this wiki, but it's off on the right hand side). Using the scroll wheel zooms the graph in and out.
The triangular peak in middle is a shot which has a fade through black transition. Clicking the right mouse button on this area gives a context menu. In the context menu there is a choice to autodetect the fade through black. This shows the graph after autodetection has been run:

The start and end of the fade through black have been detected. The transition itself has been marked as not for export (red triangle).
Shots can also be found by setting a threshold (the dotted line) using the bottom slider and pressing the "recalculate" button.
When you are satisfied with the shots detected press the "Write Kino File" button. It will create a file with the same name as the dv file, but with a .kino extension.
From there you can open the Kino file with Kino and edit etc from there.
You can manually add cut points if you select edit (or template) modes from the toolbar on the left. Right and left mouse buttons are a little different depending on the mode you are in. In edit mode, the left mouse button marks an exportable cutpoint, and the right mousebutton a non-exportable cut point.
If you chose template mode you can use predefined templates or define your own (edit fpTemplates.txt). For example, if you want to mark out 1s cross fades choose +-0.5s crossfade from the standard template drop down and click the mouse in the middle of the cross fade. This will add a "don't export" point 0.5s before the mouse point and a "do export" cut point 0.5s after, effectively editing out the cross fade. If you want a clip to exactly 30s starting from the mousepoint choose 0/30s Scene etc.
