Menu
▾
▴

Tutorial
There is a newer version of this page. You can find it here.
Tutorial
Filling the top and the bottom empty areas with the fill_zenith_nadir plugin
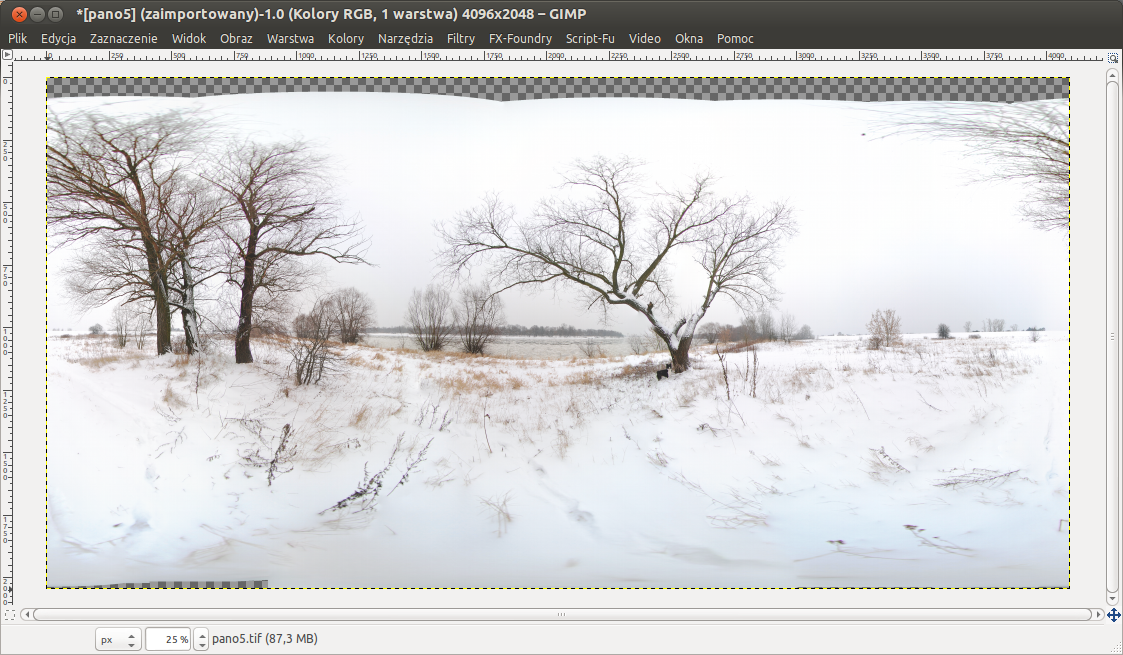
- Load generated panorama with not fully covered zenith and nadir. These area could be transparent (alpha channel).
- Usually it is a good idea to remove some adjacent area, as it could contain lens distortions or some badly calculated pixels on the edge.
- Also good a idea is to blur the pixels on the edges to remove noise.
- Make a duplicate of the layer and hide the original one.
- So we are starting with such a picture:
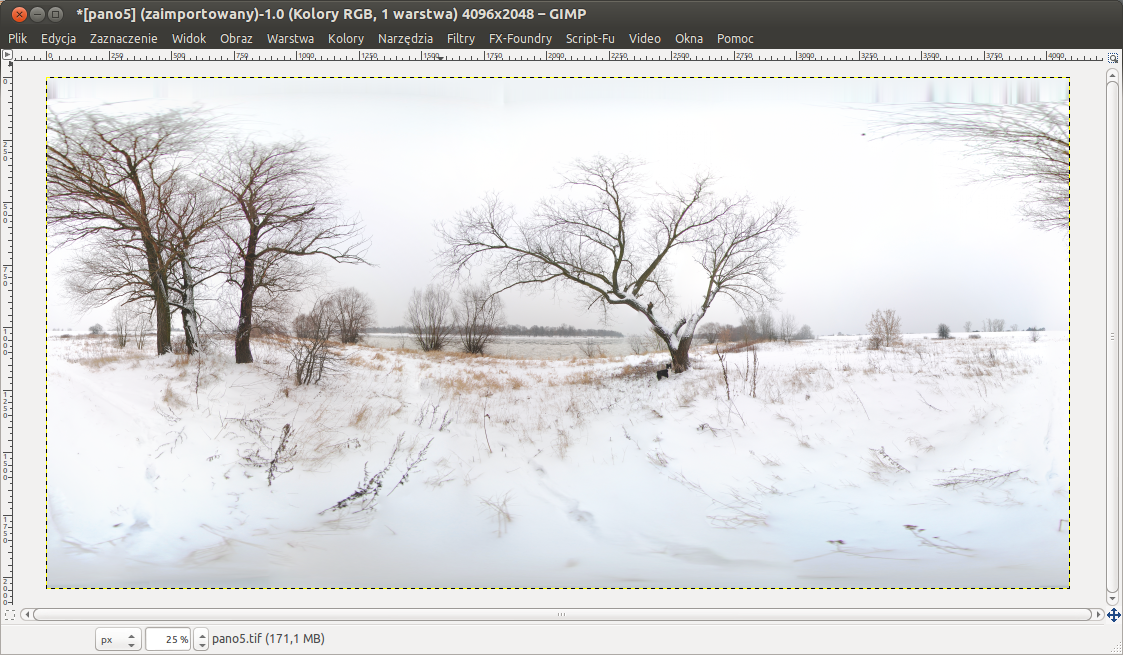
- Now we can apply '360 Panorama/Fill zenith & nadir' (please note, that this filter is active only when the alpha channel exist in this layer):
Editing panorama zenith and nadir
- The previous step is optional - you can also work on non-filled zenith and nadir, but please remember to work on layer's copy.
- Select '360 Panorama/Panorama to zenith & nadir'. You will get following image:
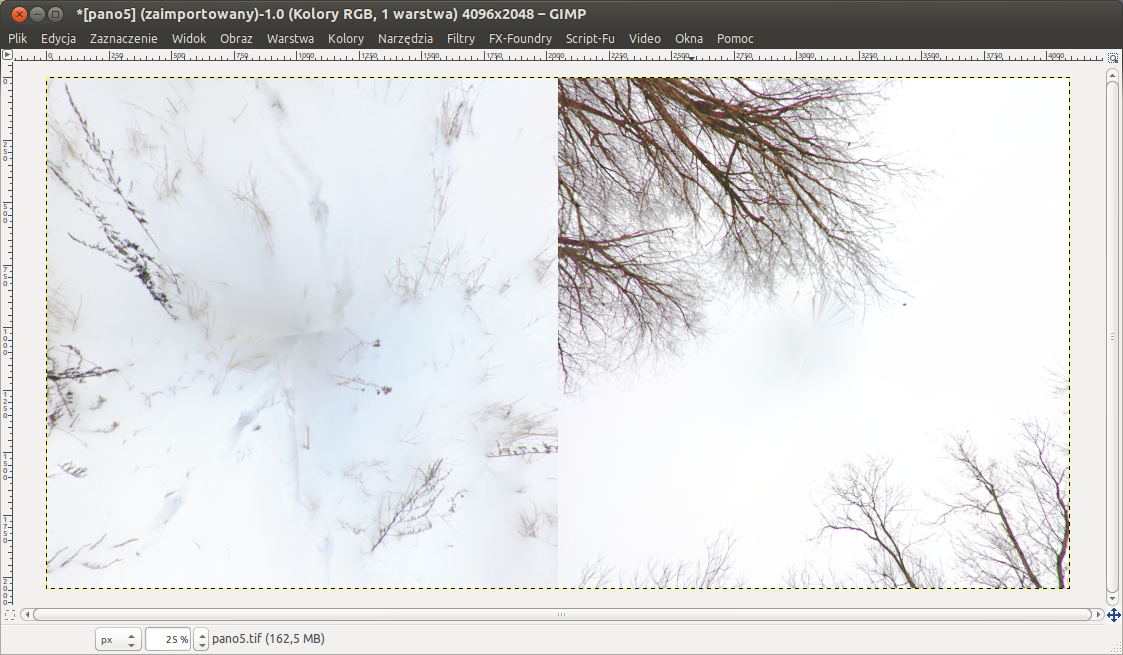
- Now you can edit zenith and nadir, eg. blur or place logo:

- After this you should convert zenith and nadir back to panorama equirectangular projection using '360 Panorama/Zenith & nadir to panorama' filter:
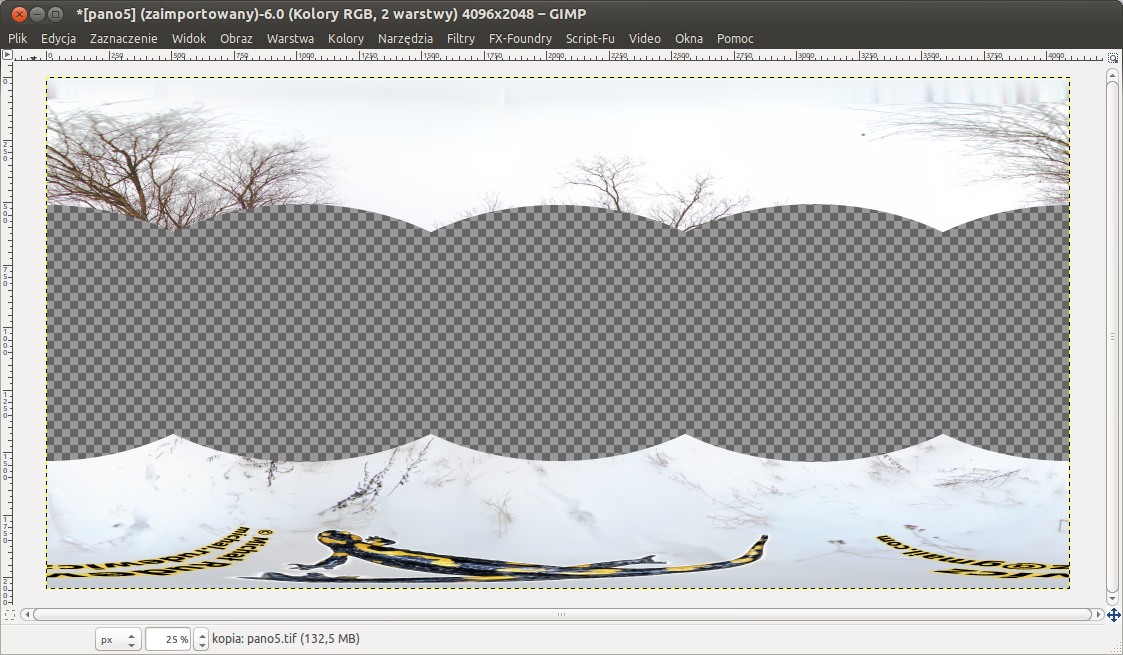
- Now it is good to remove some not changed parts of zenith and nadir, possibly with blurred edges, and make original panorama visible:

Adding Google+ metadata
If you plan to publish low-res panorama on Google+ use '360 Panorama/Insert Google+ metadata'. It will insert all necessary information in the file.
