Menu
▾
▴

PluginGuide
WORK IN PROGRESS
The definite guide to building your own plugin
So you have taken a interest in charon (or maybe your supervisor told you to use it :) )
Maybe you already have some fancy code and want to wrap it in a charon plugin.
Don't fear! Here you will learn how to do it.
Let's start with something simple.
We'll write a plugin that takes an image and rotates it by a certain angle.
We'll also go over several charon peculiarities and pitfalls which will be usefull
for more complicated plugins
I suppose you've either build charon yourself or downloaded one of our binary builds
from the homepage. If not you can do so here
Templategenerator
Now let's start up the templategenerator which is part of the charon-suite.
The program will look something like this:
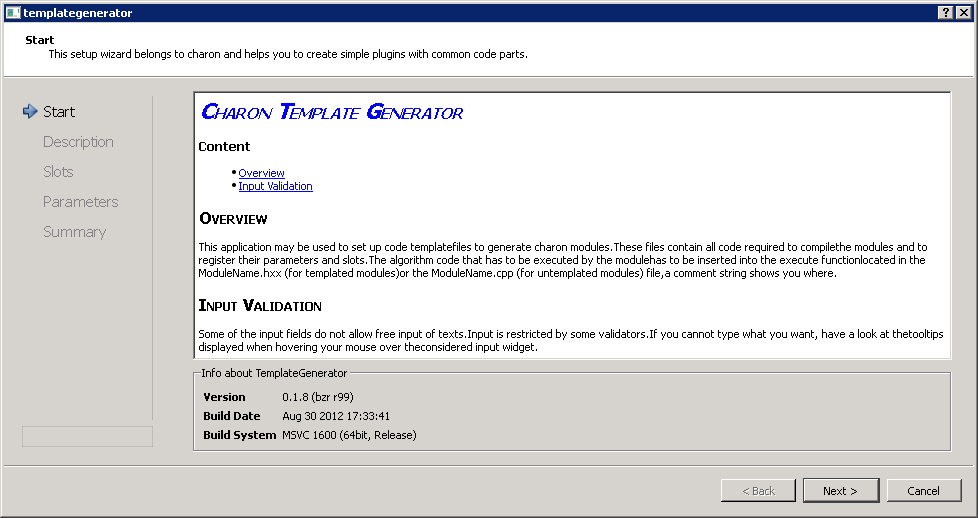
Nothing to enter here so once you've read the information hit "Next >"
Basic Plugin Settings
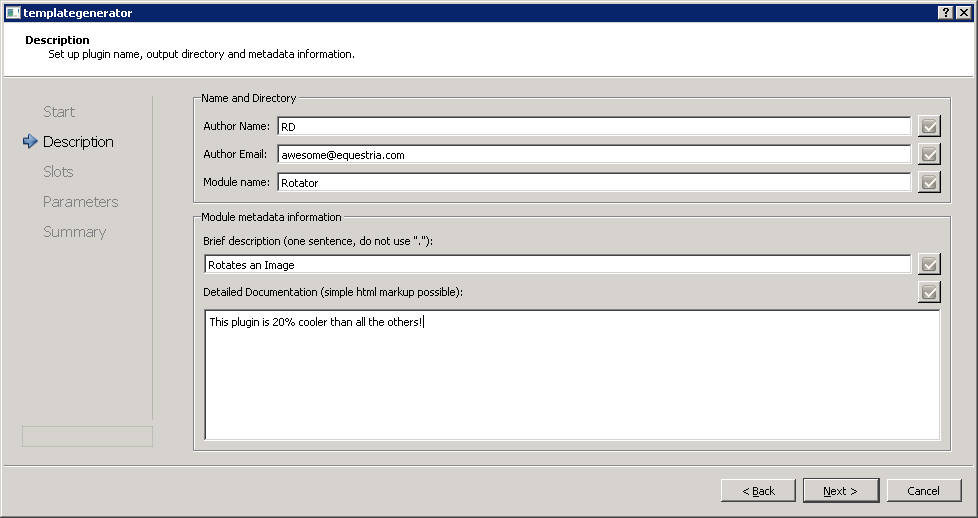
Here fill in all the necessary fields. None of them may stay empty!
Also Module name must start with a uppercase letter and may contain no spaces.
Try to be very verbose with your Documentation.
For example explain which dimensions the input image must or may have (RGB?, Grayscale? multiple frames?) and do the same for the output image. HTML is supported and encouraged.
Input and Output Slots
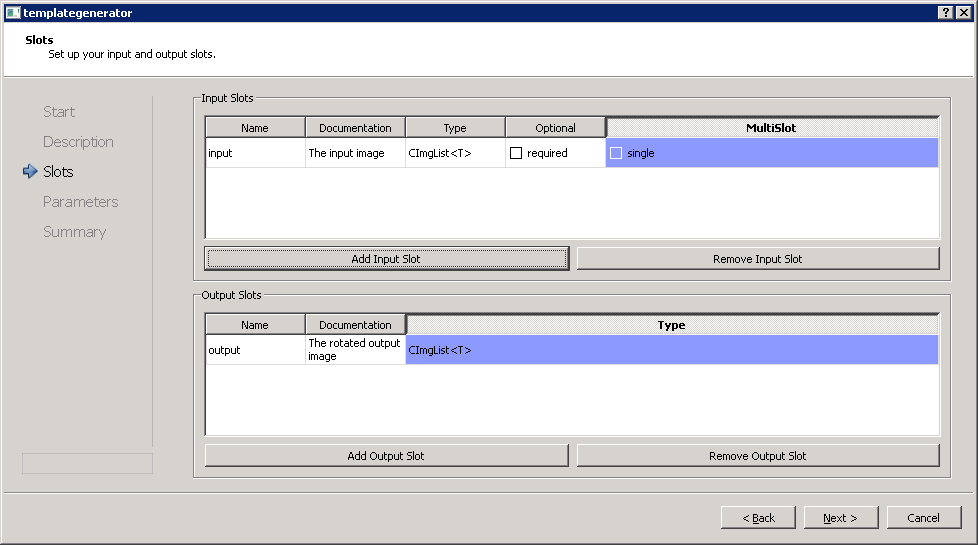
Here we define input and output slots for our data.
A input slot has the following properties:
** Name: ** this is the variable name by which you can access the slot data in the code. So it must be a valid C++ identifier. Also each input, output and parameter name must be unique!
** Documentation: ** A documentation string for the slot. This text will show up in the tuchulcha help browser. Again html is supported. You can only proceed if something was entered here.
** Type: ** A valid C++ type. You can select one from the predefined types or enter your own ones. CImgList<t> is the image class most often used in charon.</t>
** Optional: ** When unchecked, the slot is marked as mandatory and tuchulcha will raise an error when you try to start a workflow where the slot is not connected. When you mark the slot as optional you should check if there is valid data connected to this slot using the
* bool connected() * member function.
** MultiSlot: ** When selected, multiple OutputSlots can be connected to this InputSlot.
You can accesss the data using STL syntax with iterators or the [] operator.
Keep in mind that there is no fixed order on the input data.
Output Slots lack the Optional and MultiSlot options. charon doesn't mind if and how many Plugins are connected to an OutputSlot.
For now add one Input Slot named "input" with type CImgList<t></t> and give it a meaningfull documentation like "Input image which will be rotated". Leave Optional and MultiSlot unchecked.
Additionaly create an Output Slot named output with the same type.
Parameters
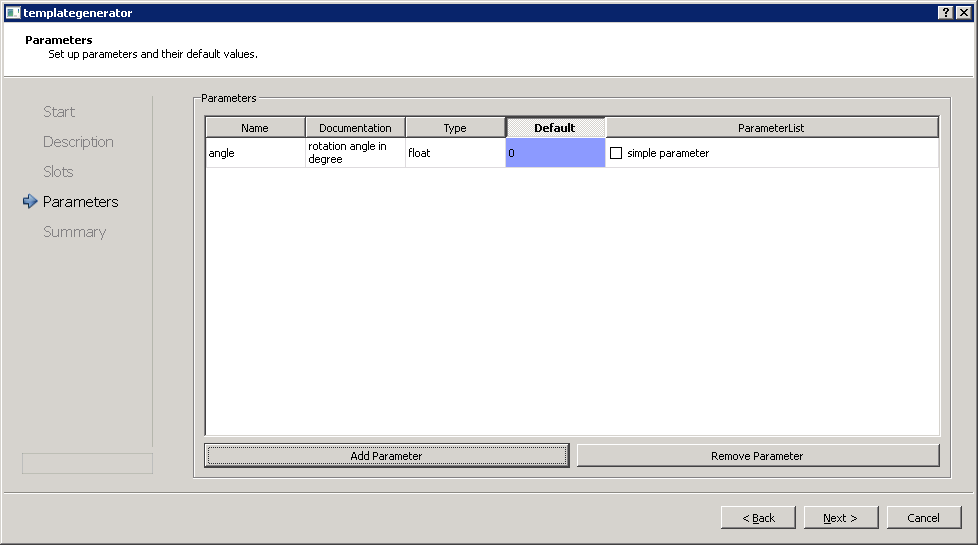
Parameters are similar to Input Slots. But instead of getting the values from other plugins they are read from a parameter file or defined in the ObjectInspector widget in tuchulcha.
They have the following options:
** Name: ** Same rules as for Slot apply here
** Documentation: ** And also here
** Type: ** You can again use one of the predefined types or enter your own. A requisition is that the type is convertible to a string as the parameter values are saved in a ascii parameter file. The special types FileOpen, FileWrite and Path are actually strings, but using them tells tuchulcha to show a file dialog window when you want to edit them.
** Default: ** The default value which will be used when the parameter is missing from the parameter file or isn't defined in ObjectInspector
** ParameterList: ** When checked the Parameter is not a single instance of type but instead a std::vector<type>. Each individual value can be accessed using STL syntax (e.g. operator[]). The values are saved in parameter files as a semicolon separated list.
(Keep in mind that lists of strings may not contain semicolons; escaping them is currently not supported)</type>
Add a single float-type parameter named angle. We will use degree as unit, which is an execellent piece of information to put into the documentation field.
Final Settings
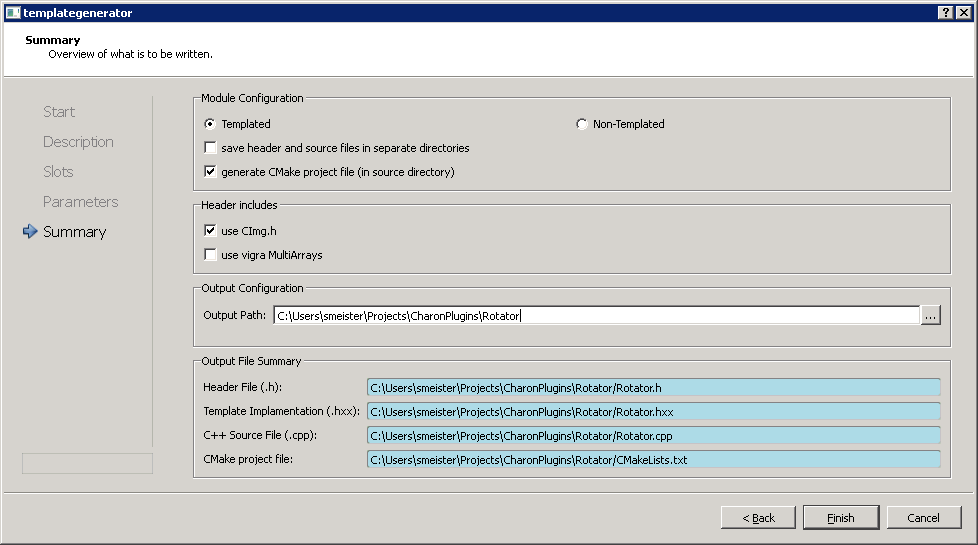
** Templated / Non-Templated: ** For templated plugins are instanciated as either float, double or int types. This is mostly usefull for plugins using CImgLists or vigra images.
Currently most of algorithms implemented in charon use image data of the CImgList type with double precission. (double is also the default template type). float can be used when memory consumption is an issue. Non-Template should be used when you use neither CImgLists nor vigra images.
Note that definitions of template functions must be present in the header files so the file structure will be different depending on this option (h, hxx and cpp files with a templated plugins and only h and cpp file for non-templated plugins)
For this tutorial we will create a templated plugin
** save header and source files in separate directories: ** this option will put *.h and *.hxx files in a separated include directory to ease installation in a unix directory structure. Leave it unchecked for the time being.
** generate CMake project file: ** CMakeList.txt will be created to allow the direct creation of project or makefiles. This should only be unchecked if you write your own makefiles or combine multiple plugins into the same project.
** use CImg.h: ** CImg.h is part of charon-utils and the include paths will be set correctly when this option is active. Deactivate if you don't use CimgLists or want to use another version of the header file. For now keep it active.
** use vigra MultiArrays: ** same for the vigra headers. Our plugin doesn't use vigra so you can uncheck this.
** Output Path: ** Self Explainatory
After clicking "Finish" you will find 6 files in the output directory:
** Rotator.h: ** header file which describres your new plugin class. Unless you want to add new slots or parameters to your plugin, you can leave this file alone.
** Rotator.hxx: ** The file containing the execute function, all your code goes in here.
** Rotator.cpp: ** This file contains functions related to managing plugin instances and is important for the creation of the shared library (.dll or .so file).
Usually you don't have to touch it.
** CImgConfig.cmake: ** Sets some preprocessor defines and compiler flags regarding CImg.h
It is not strictly necessary.
** InitFlags.cmake: ** Sets some additional platform specific compiler flags like -Wextra on GCC or _CRT_SECURE_NO_WARNINGS on MSVC.
** CMakeLists.txt: ** CMake uses this file to create makefiles or project files for specific build environments. If you wan't to use 3rd party libraries or add new source files to the project you have to enter them in here.
Project creation
Now we can create our build enviroment:
Open cmake-gui (or use the command line version) and point source directory to the place where CMakeLists.txt is located.
We strongly recommend out-of-source builds, so set the build directory to some other location.
Hit configure and select the build enviroment of your choice.
You will propably get an error message that charon-core_DIR was not found. In this case, set the variable to the correct location. (When the environment variable CHARON_DIR is set cmake will find charon automatically).
You can also change the location CMAKE_INSTALL_PREFIX points to. (In Windows will point to the Program Files directory which will typically fail unless your working with administrator rights)
Finally, hit generate and start up your IDE or editor
Actual Coding
Now open Rotator.hxx and add the following code:
template <typename T>
void Rotator<T>::execute() {
    //initialize the image in the output slot to the same size as the input slot
    output().assign(input().width()) ;
    //iterate over every image in the the input list
    cimglist_for(input(),l)
    {
        //assign to each image in the output list the rotated input image
        output()[l] = input()[l].get_rotate(angle()) ;
    }
}
And that's about it. Hit compile or start make to build your plugin.
Rotator in Action
Start up Tuchulcha and got to Edit->Options->Paths. Here you can add the path were your plugin was build to debug or release plugin path (Depending on the build type, which defaults to debug on most systems). Paths can be supplied as semicolon separated lists.
Also check that the correct build type was selected in Config.
Now click on the update plugin information button (circle arrow).
You can check the show debug output box and see if your Rotator plugin appears in the list.
If the plugin was loaded correctly it should appear in the Module Collection window.
That's it. You can open a new workflow and test your new Rotator plugin. Have fun.