Menu
▾
▴
Creating your First Level
Creating your First Level
This page will teach you how to create a custom level for your mod.
Launch Unreal Editor.
Towards the top-left dropdown menu, Click on File > New Level.
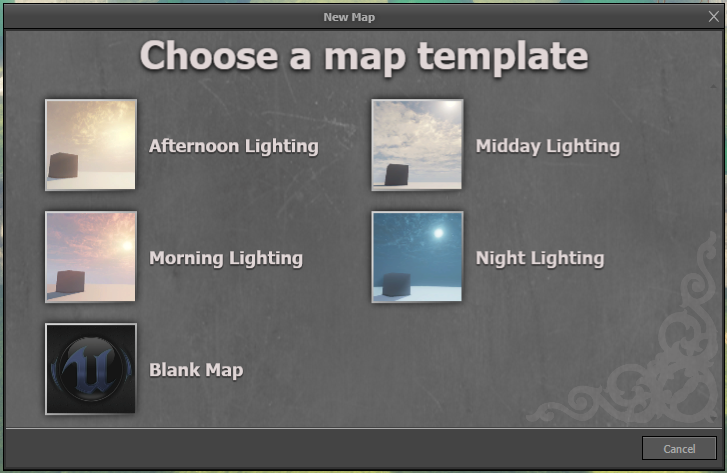
Select your Map Template.
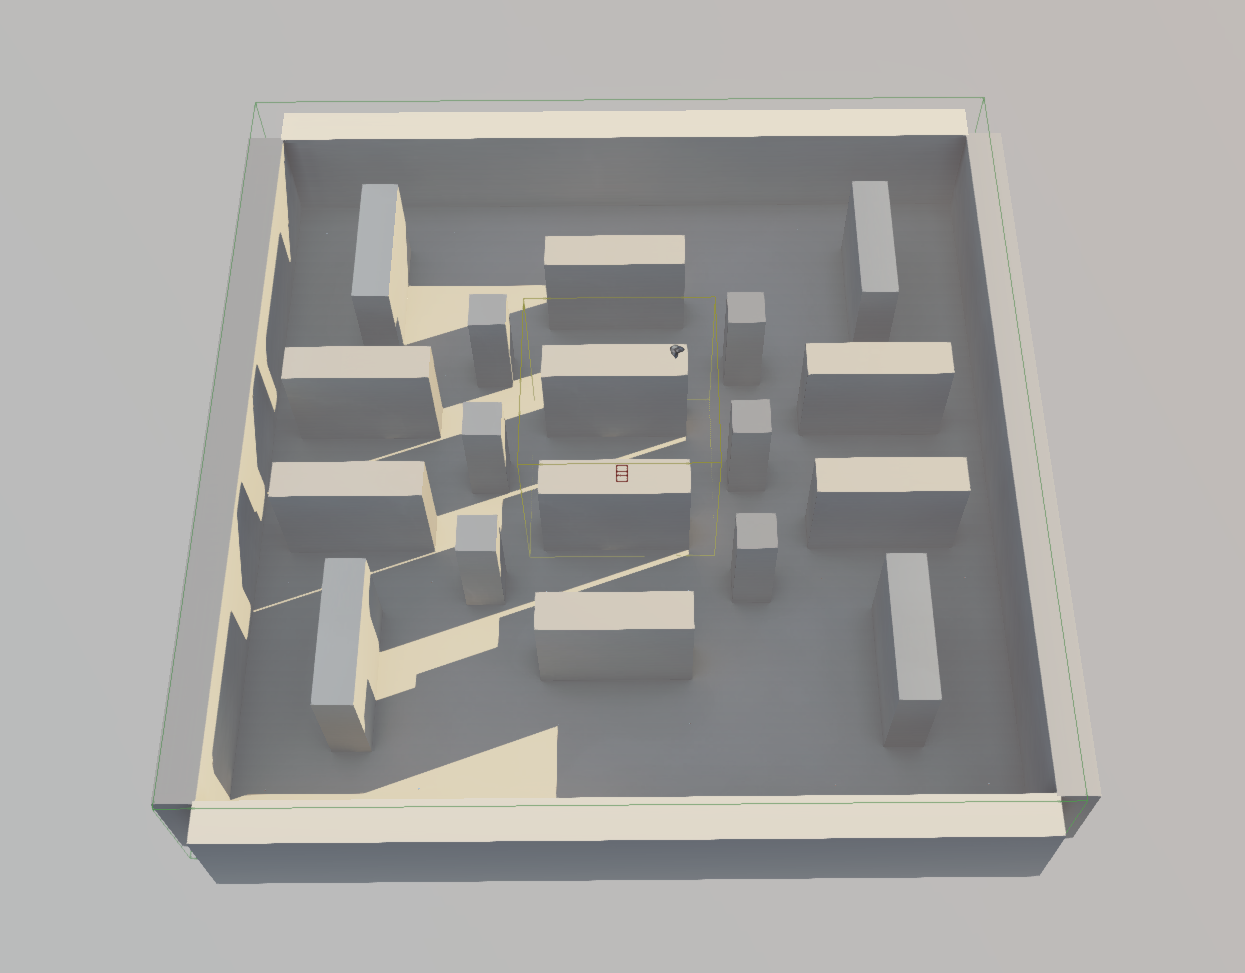
Create your level. Refer to this video if you want to learn how to design a level.
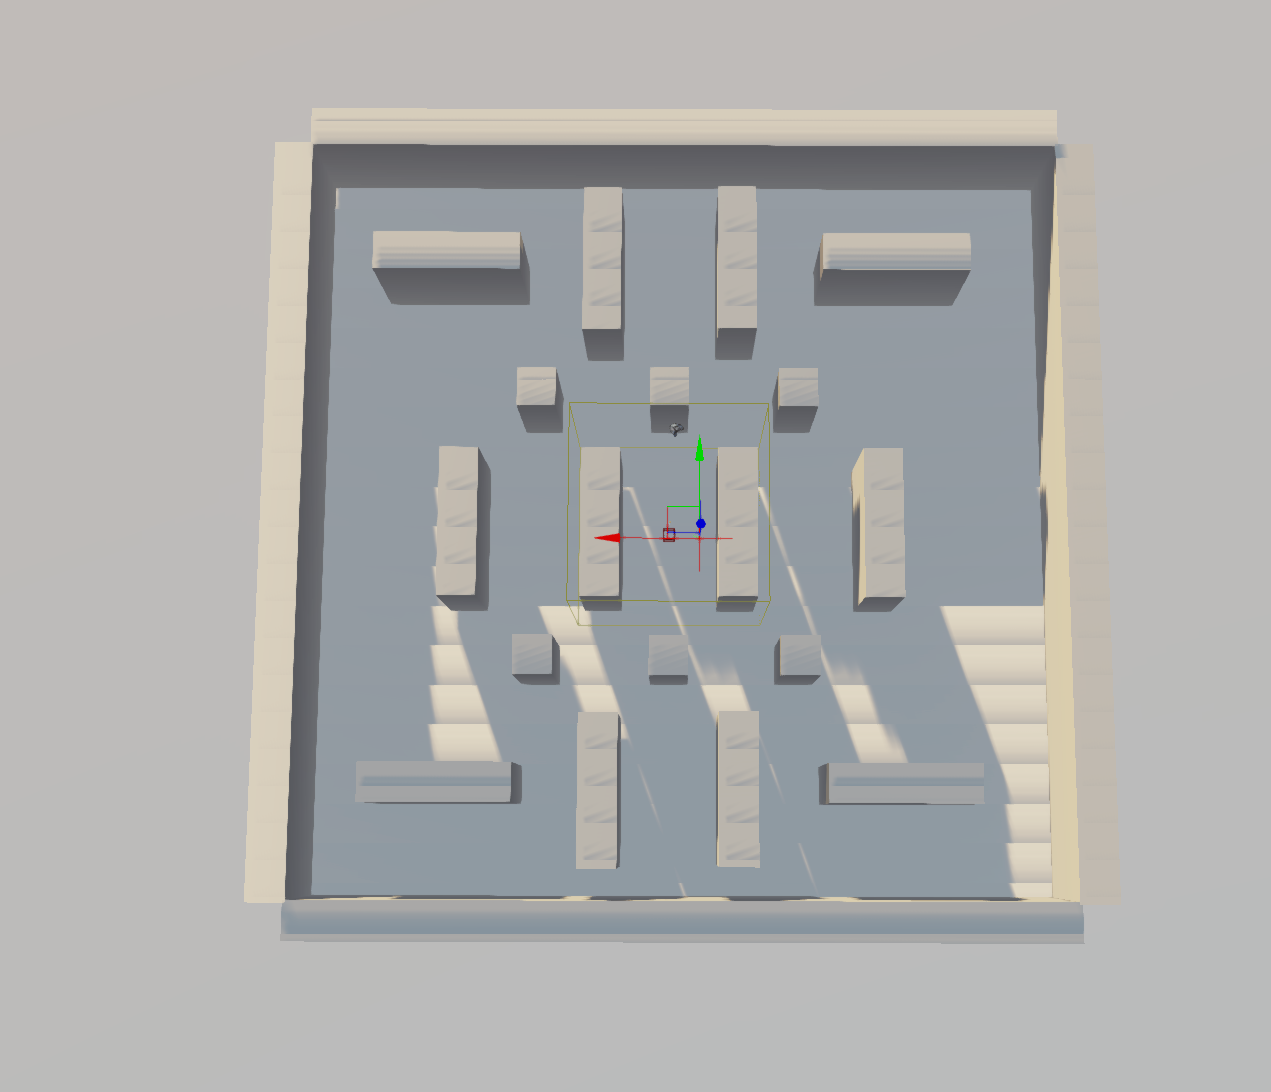
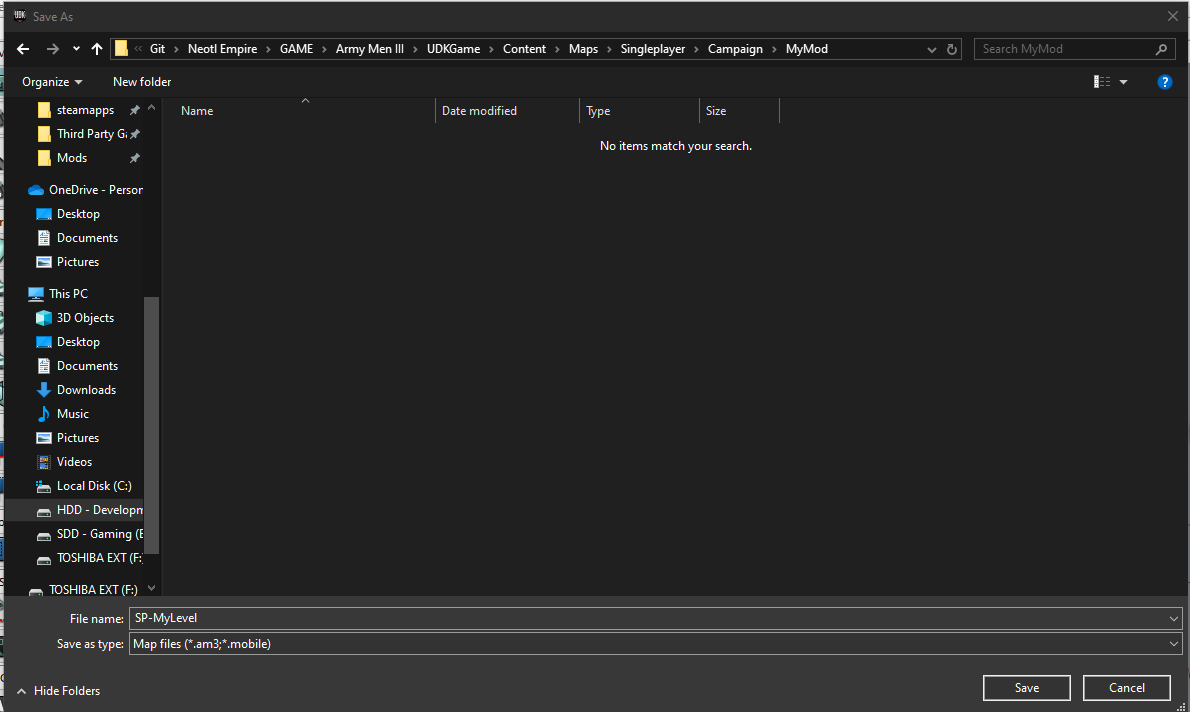
Don't forget to save your level periodically in case of any editor crashes and progress loss.
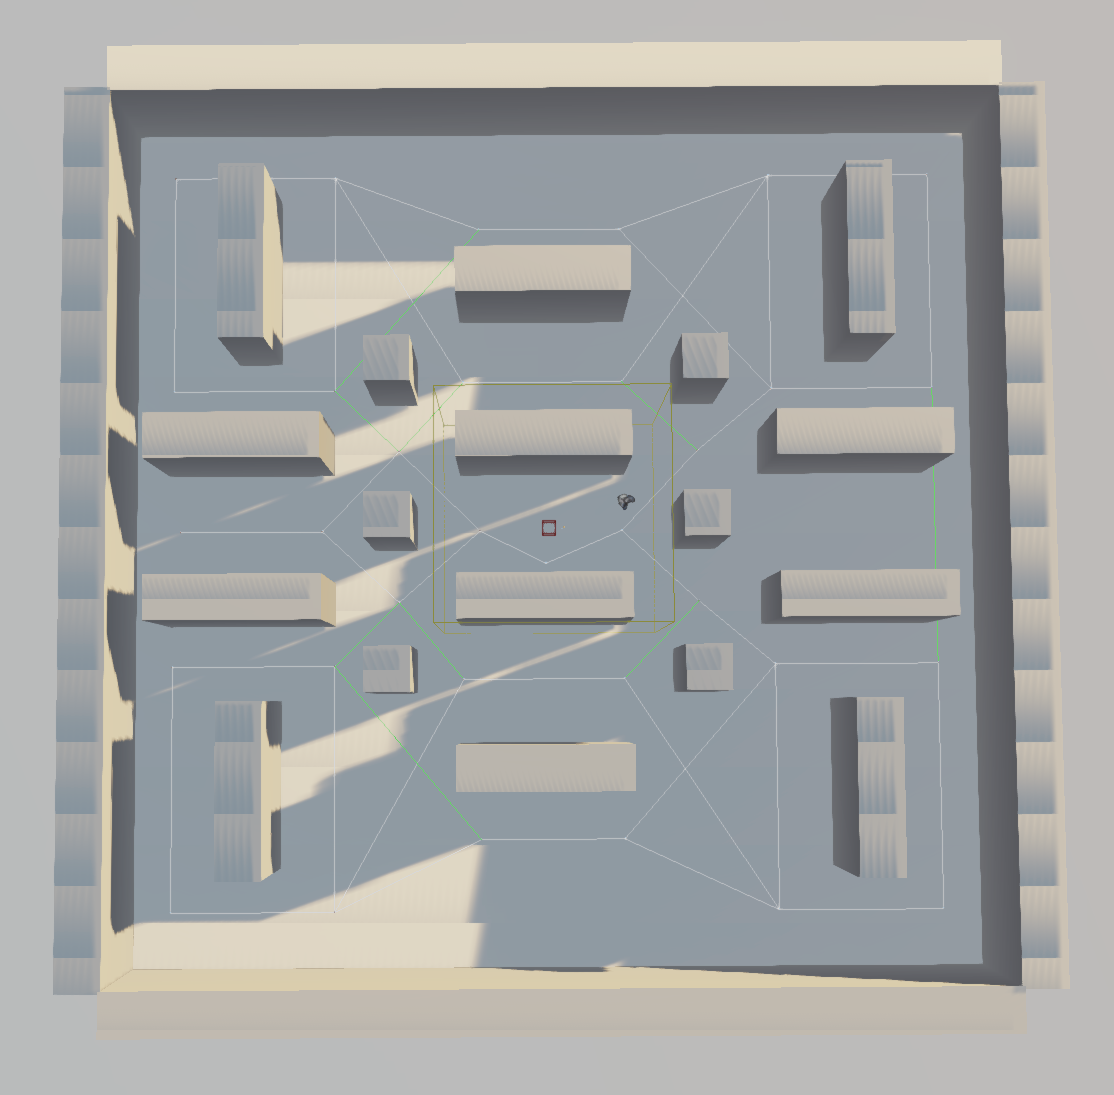
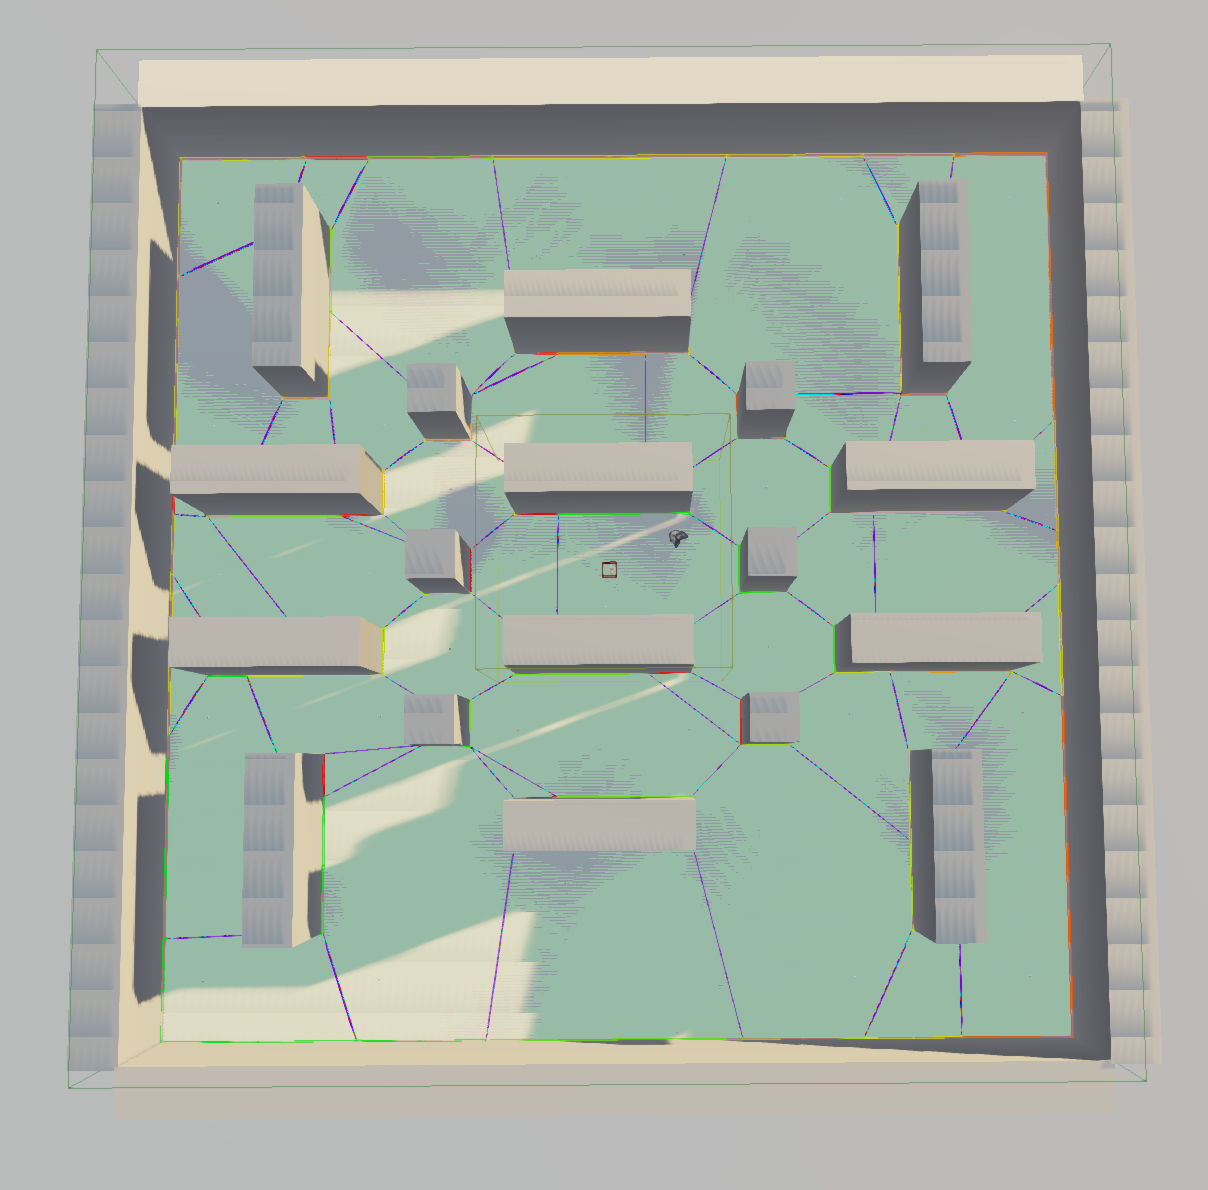
Apply pathing to your level scene by using either Path Nodes (for beginners), or Pylons (for advanced users, using Trigger Volumes as Expansion Volumes).
Build pathing in your level.
Path Nodes:
Pylons:
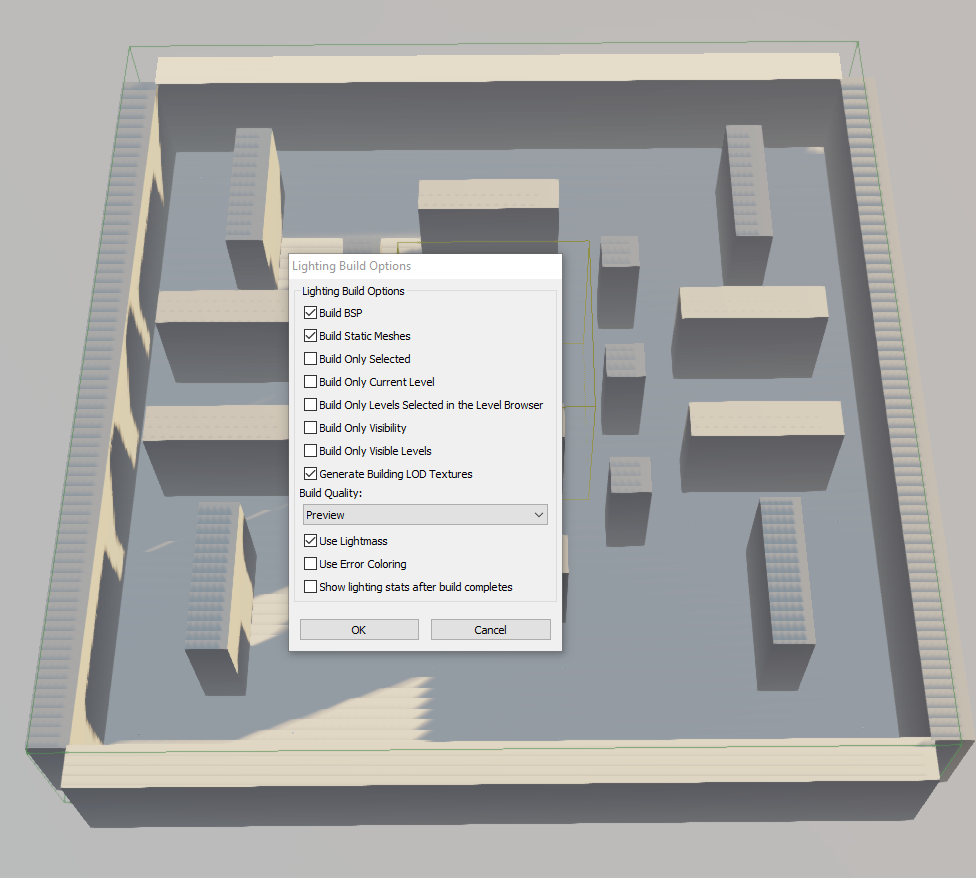
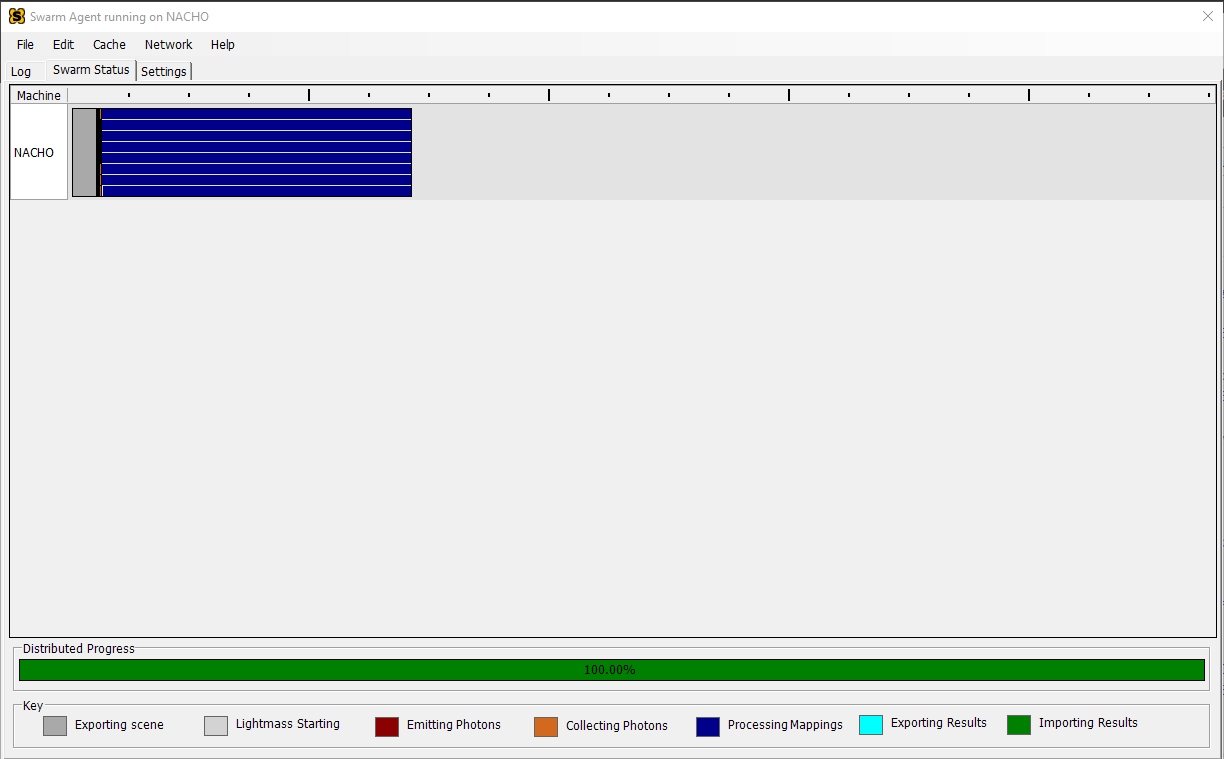
Build lighting in your level.
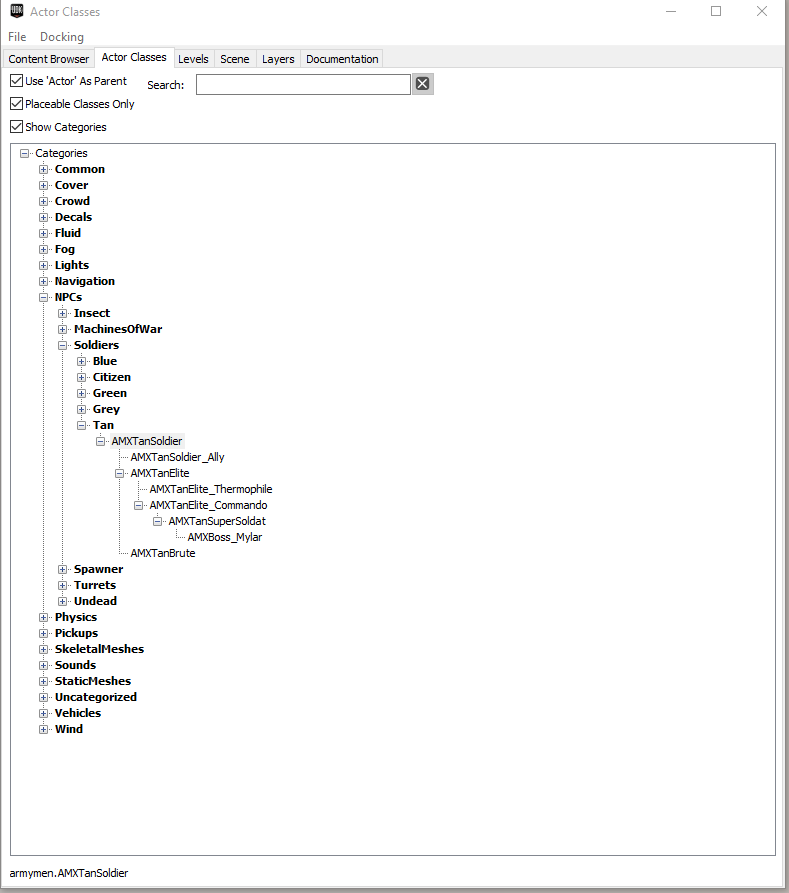
Let's add some enemy NPCs. Head to your Content Browser, then select the the Actor Classes tab.
Navigate through the NPCs group and add any character you want. Typically this would probably be a Tan soldier class for your enemies.
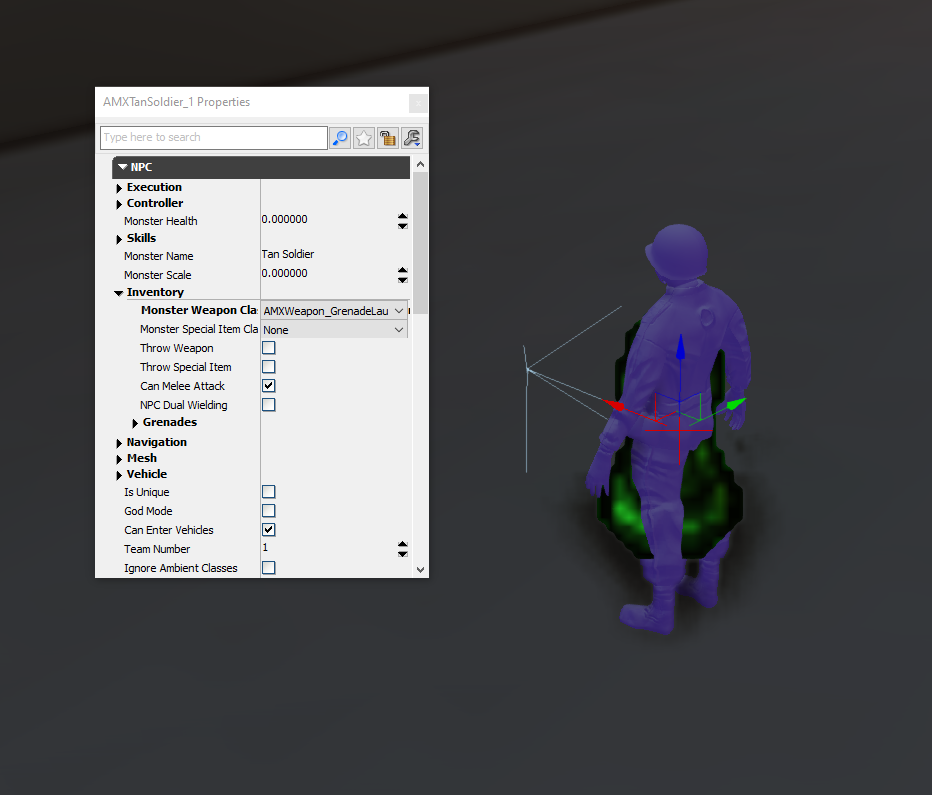
You can adjust the properties of an NPC via the Actor Properties.
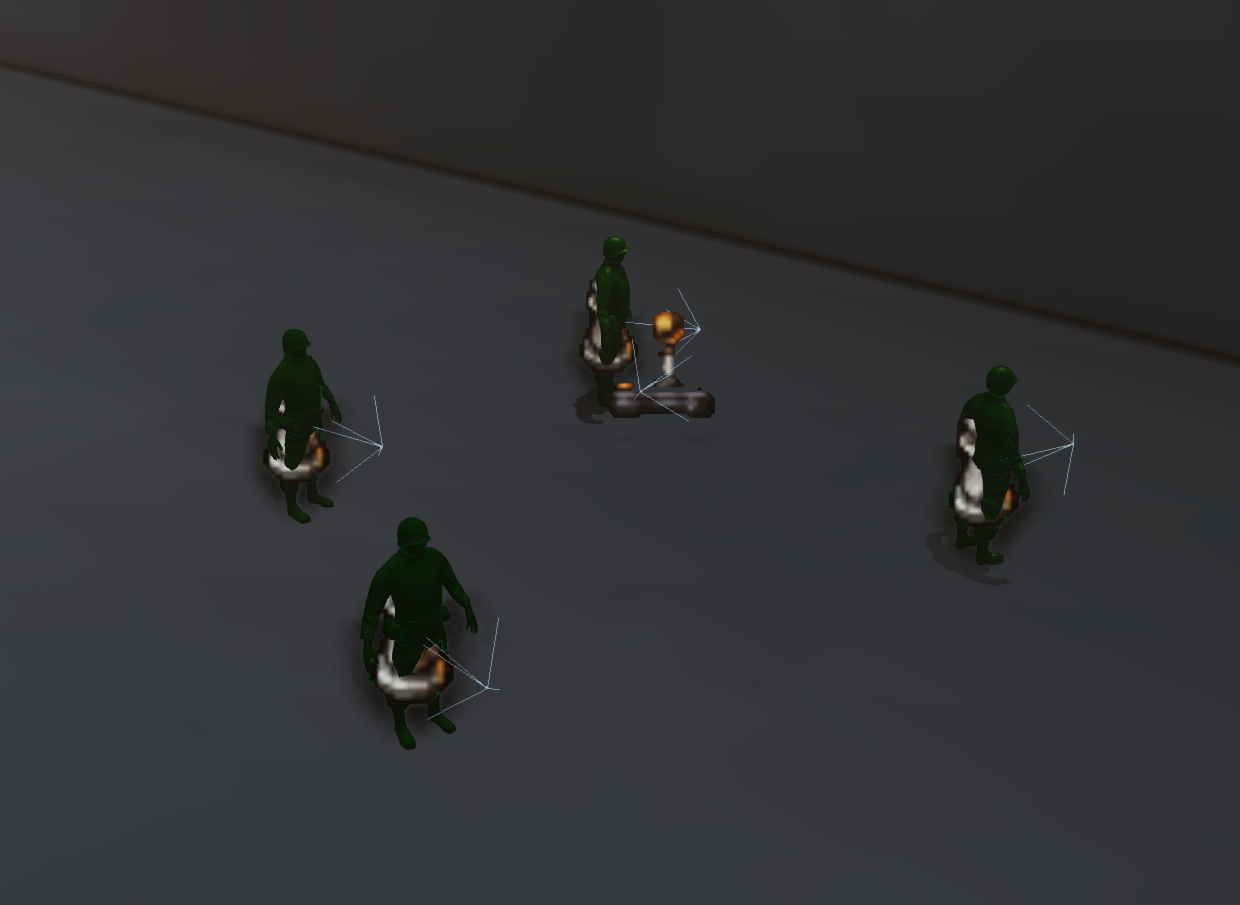
Don't like fighting a battle alone? Me neither! In that case, place some allies to fight alongside you as well! Typically this would probably be a Green soldier class for your allies.
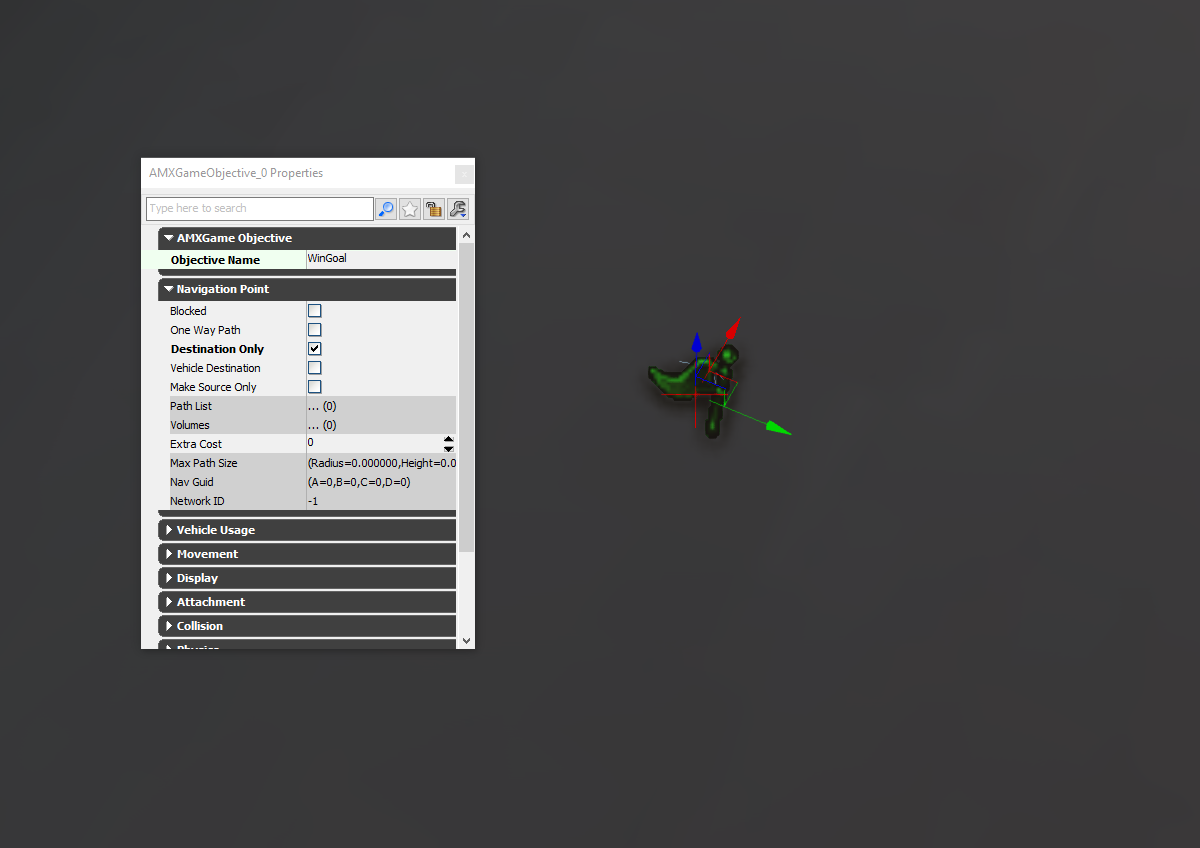
Let's make an objective for your level. Head back to the Actor Classes tab, navigate to Navigation and place an AMXGameObjective into your scene. Give it a name and enable that Destination Only checkbox while you're at it.
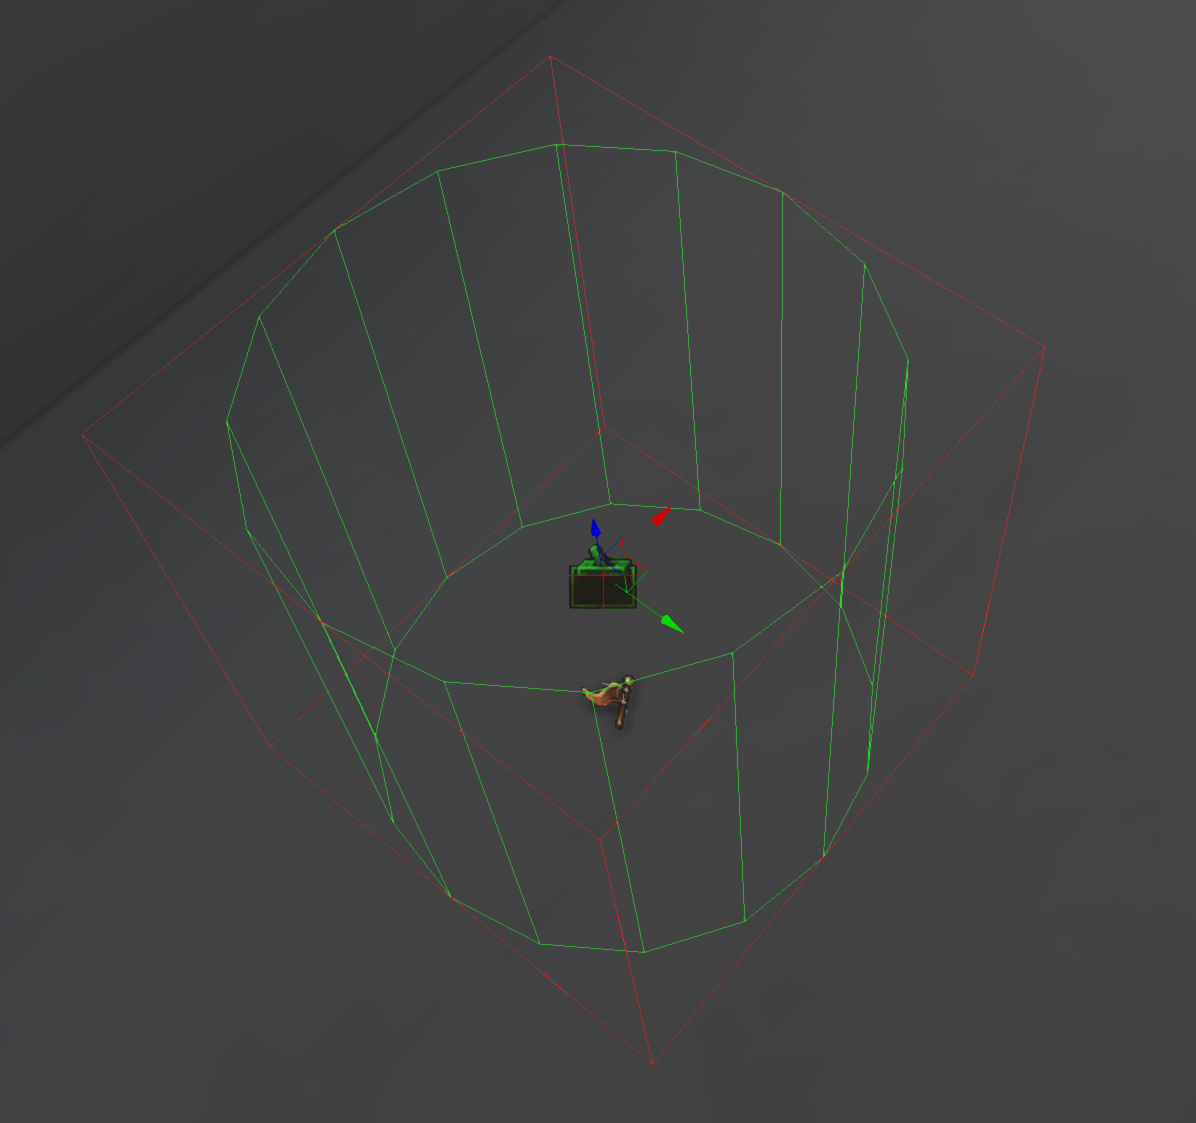
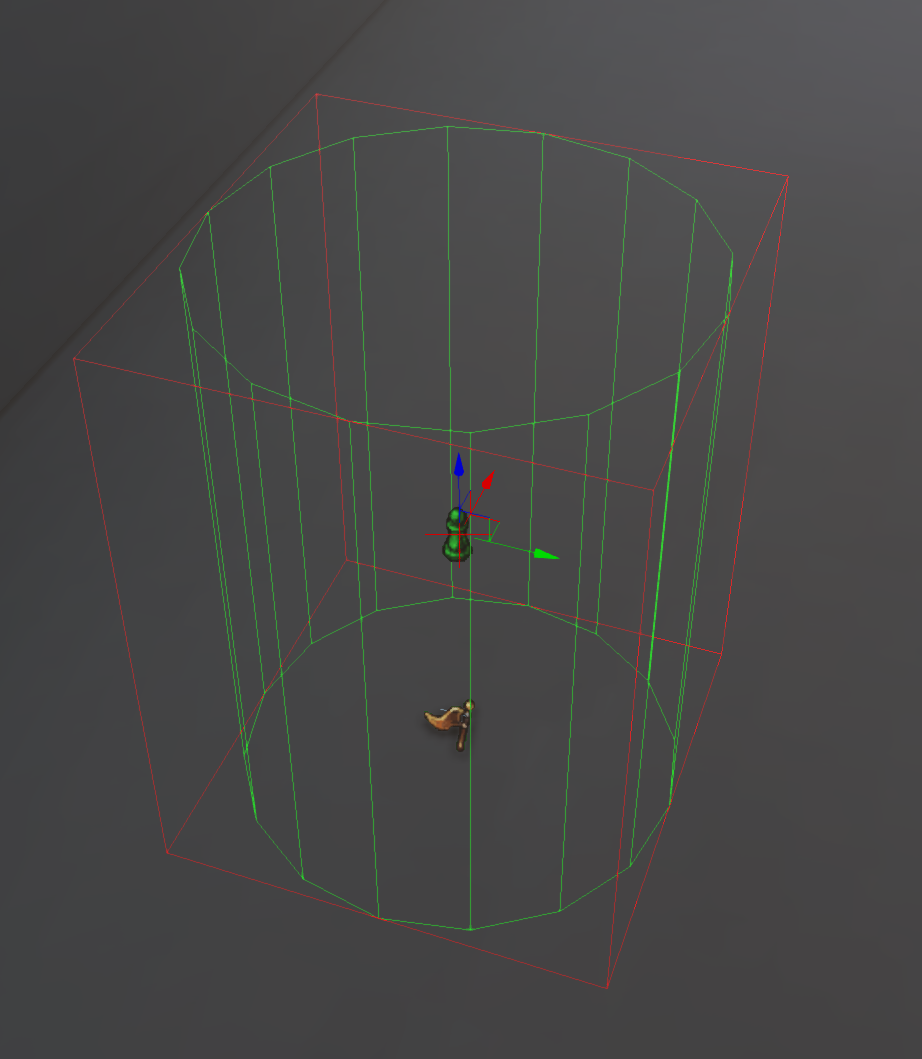
Add a Trigger around your objective. You will need this for Unreal Kismet. If you want to use a trigger with style, use the AMXIconizedTrigger and set your custom sprite texture.
Regular Trigger Variant:
Iconized Trigger:
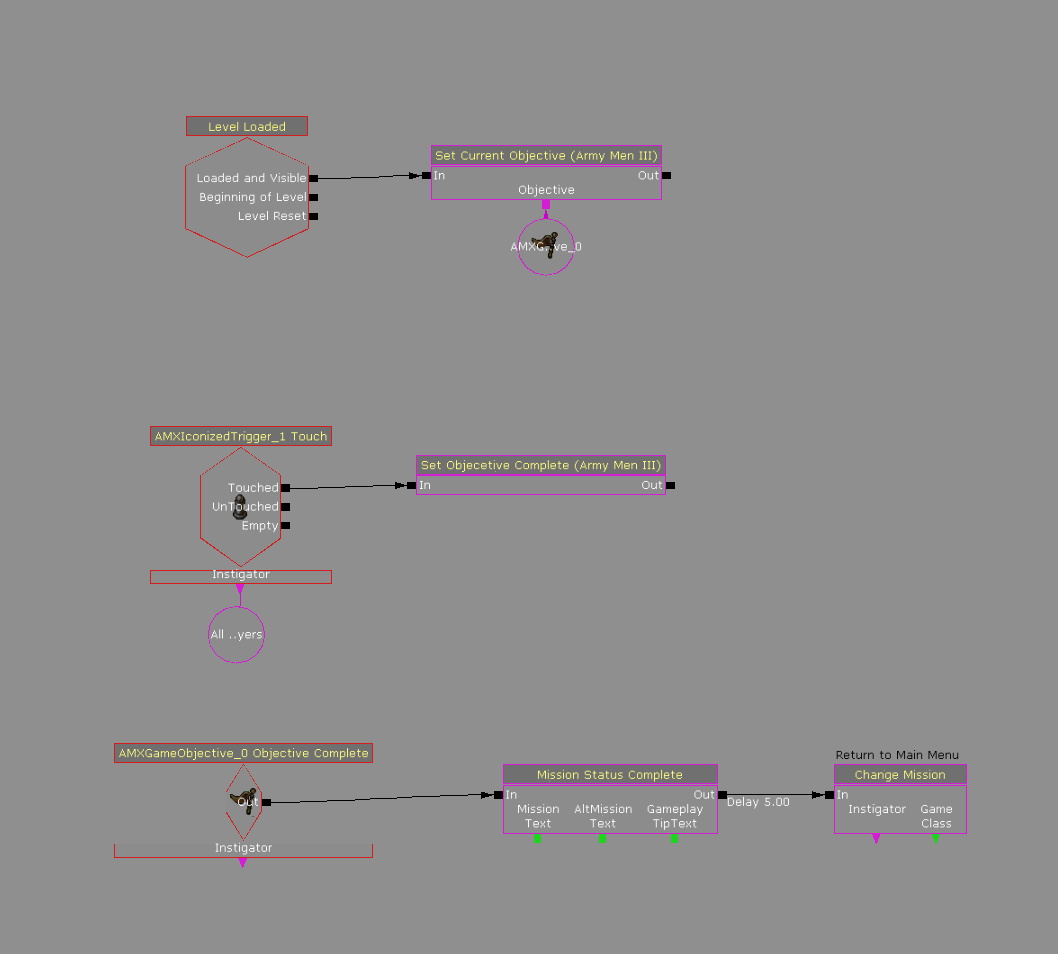
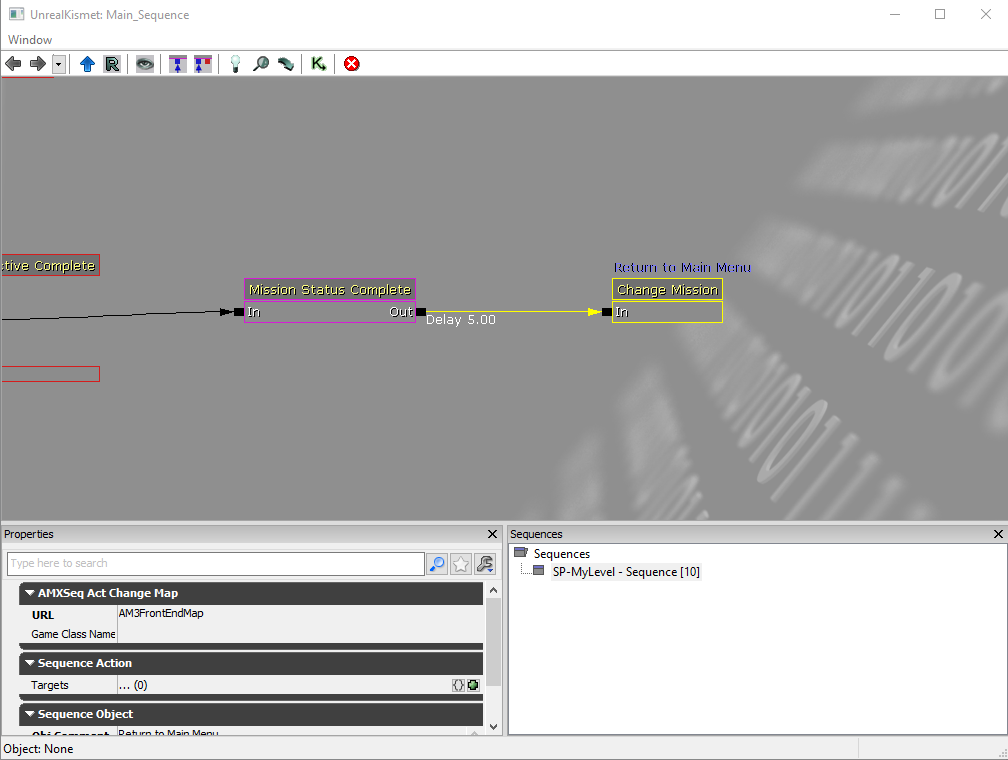
Load Unreal Kismet and create two events:
- An event that sets your objective once the level is loaded.
- An event that completes your objective, notifies you about it, and ends the mission.
You can watch this video for guidance on visual scripting via Unreal Kismet.
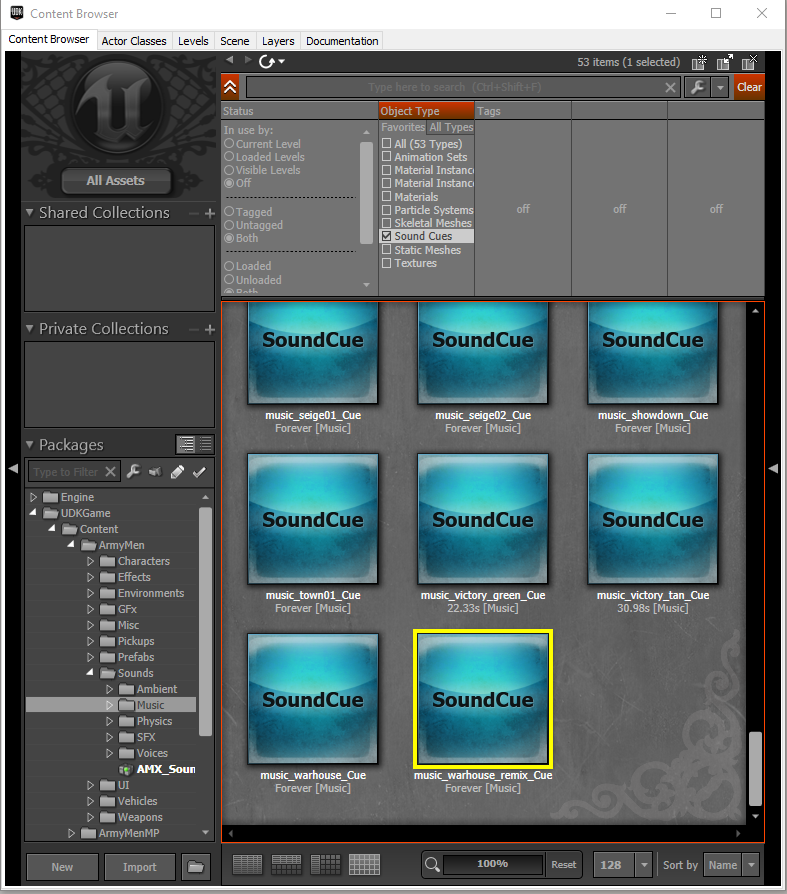
While you're at it, why not add some music to your level? Create a Play Music Track node, and set The Sound Cue to a music sound cue of your choice.
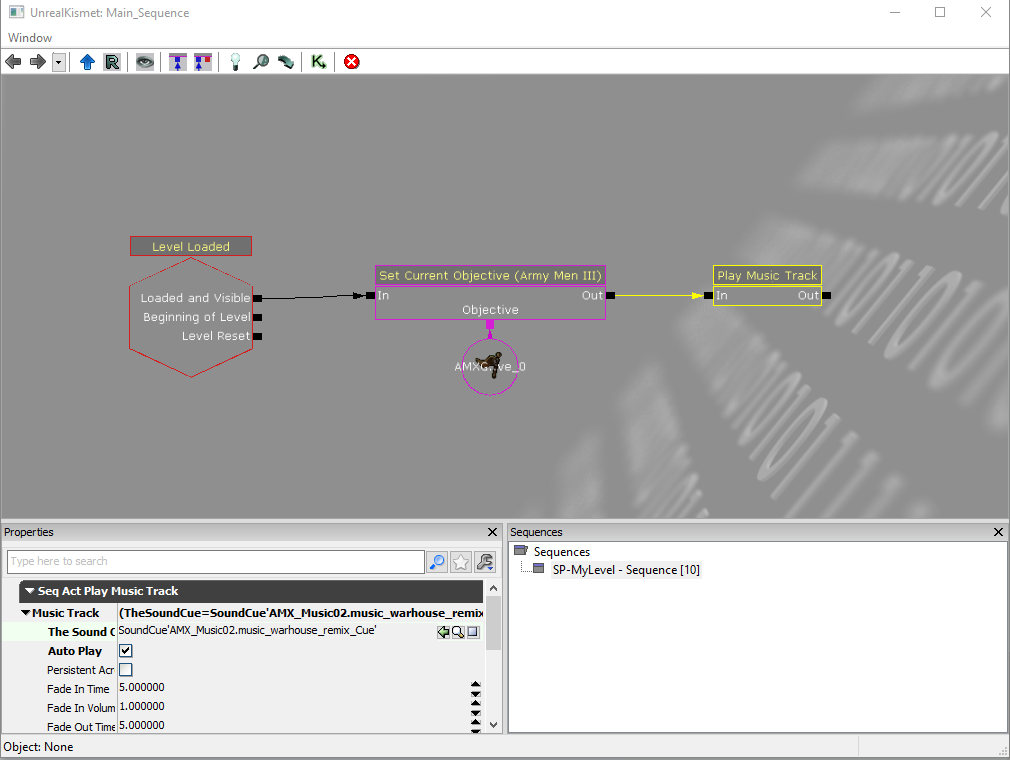
You can search for music sound cues in ArmyMen > Sounds > Music in the Content Browser.
When you are done. Build paths again (because of the AMXGameObjective node), then save and test your level.
You will want to add pickups to your level. Navigate to the Actor Classes tab again and in the Navigation group, search for any AMX pickup class of your choice and place them in your scene.
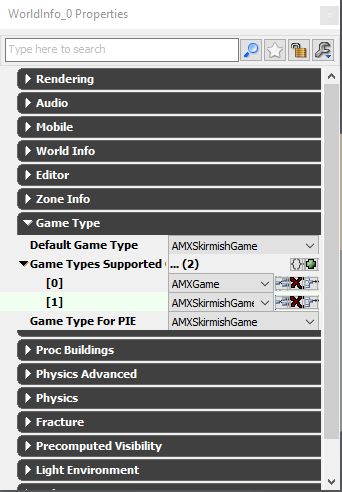
Finally, you will want to set your default game mode for this level just in case to force the game to load your level using that specific mode each time you use it. Head to your World Properties and set the Default Game Mode to any game mode of your choice; ideally AMXGame for a campaign level, or AMXSkirmishGame for a skirmish level.
Save your scene, then test the level using Standalone mode instead of Play In Editor.
Congratulations! You have created your first custom level for Army Men III.
To load your level, you can start the game normally and launch the level via the in-game console window.
Remember that practice makes perfect. There are plenty of other actors both you can play around with to improve your level scene and gameplay value. Some are experimental and unfinished, witch some of them not even developed by Néotl Empire (they are left overs from the UDK by Epic Games, such as the Cover Actors used in Gears of War).
Related
